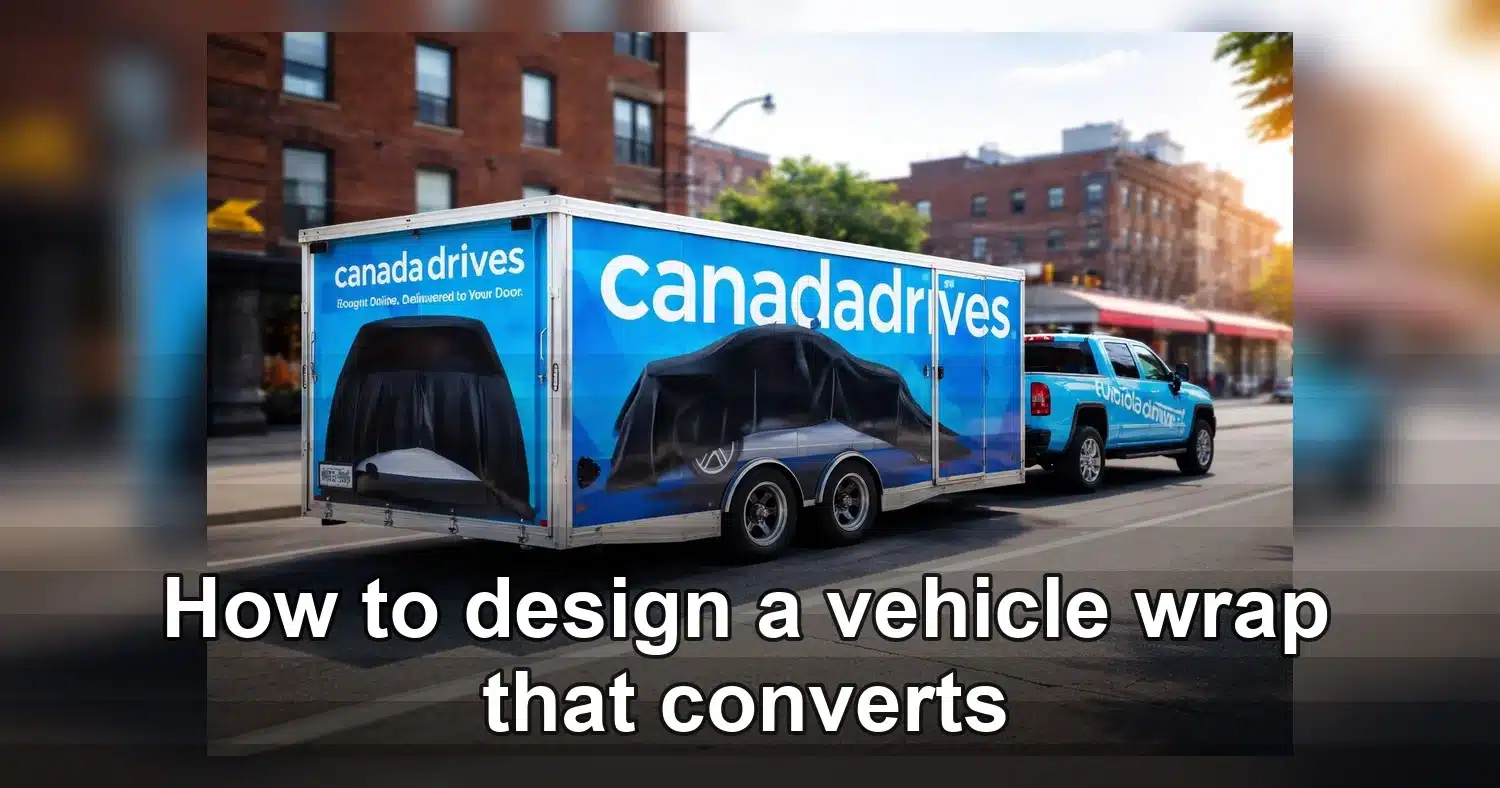
Most small business owners try to cram everything onto a vehicle wrap, every service, every phone number, every badge, every slogan. That usually weakens the result. If you want to know how to design a vehicle wrap that brings in calls, start with one clear message, strong branding, and text people can understand in about three seconds from the curb or in traffic.
Last updated: May 2026
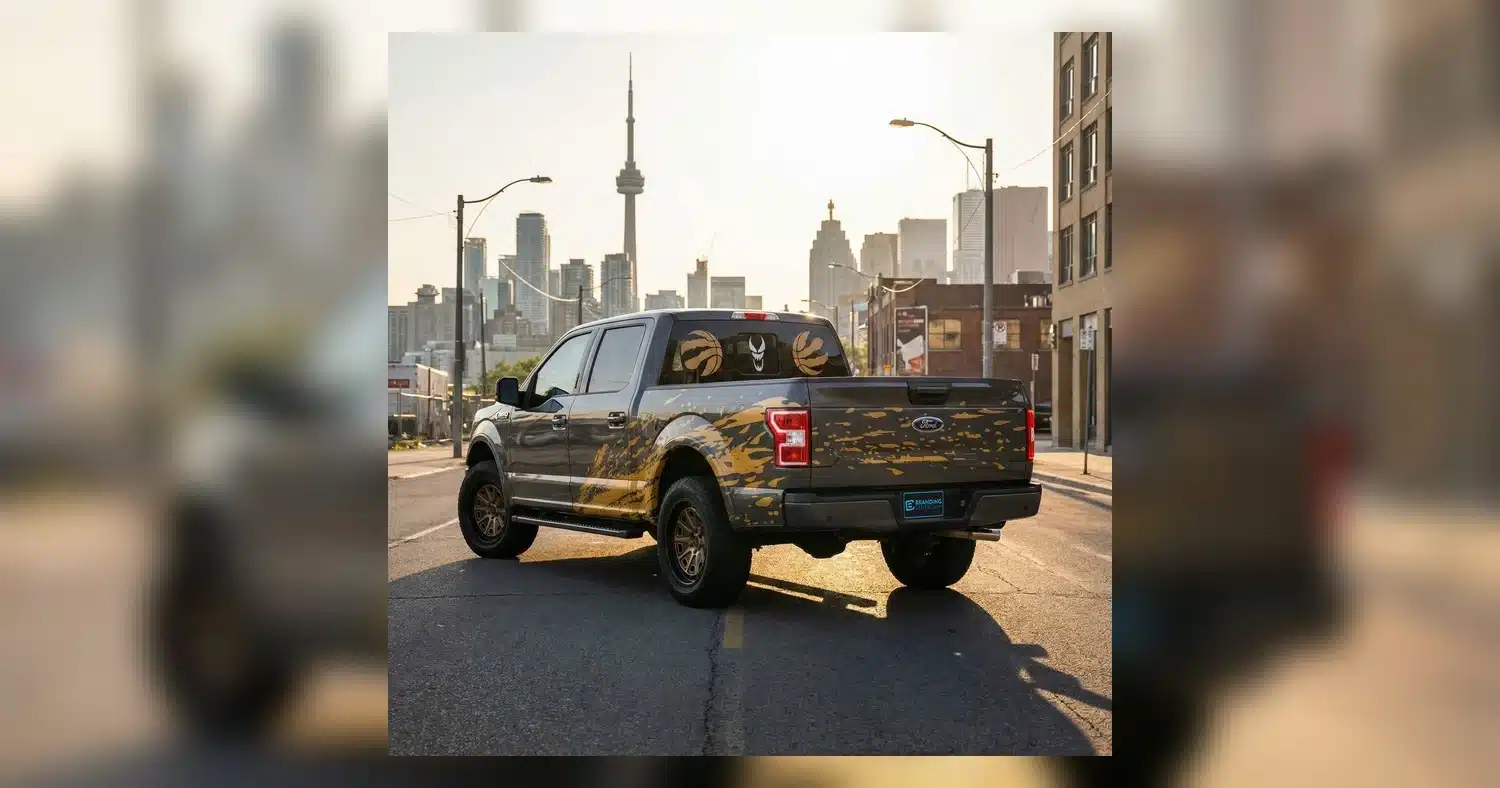
Think of your truck, van, SUV, or trailer as a mobile billboard, not a brochure. The right design depends on who you want to reach, where the vehicle is usually seen, and how fast people pass it. Before your shop lays out artwork, decide the single action you want viewers to take, gather accurate vehicle photos and measurements, and review a few custom vehicle wrap examples that fit your brand and service area. Wrap guidance from installers keeps coming back to the same points: simple layouts, strong contrast, and design choices that still work after printing and installation.
How to design a vehicle wrap that converts at a glance
If you want to learn how to design a vehicle wrap that converts, start with one rule: give people one message they can absorb in three to five seconds. A wrapped vehicle is a moving advertisement, not a flyer.
Lead with one message, not a list of everything you do
Most wraps underperform because they try to say too much. Drivers, pedestrians, and people waiting at stoplights do not have time to read a menu of services. Your wrap should answer three basic questions quickly:
- Who are you?
- What do you do?
- How can I contact you?
That usually means a logo, a short service label, and one contact point such as a phone number or short website. “Emergency Plumbing,” “Mobile Pet Grooming,” or “Custom Cabinets” will usually beat a paragraph of copy every time.
Readable distance matters more than packing in more text. If a detail cannot be read from sidewalk distance or from the next lane over, it is probably not helping conversions.
Design for the audience and routes your vehicle actually sees
Good vehicle wrap design tips always come back to context. Ask where the vehicle spends its time. Is it parked in front of homes, driving across town, waiting in school pickup lines, or making deliveries downtown?
If your audience is homeowners in local neighborhoods, the side panels matter most because people see them parked at the curb. If you spend a lot of time in traffic, the rear becomes your best call-to-action area. If you run multiple trucks, a consistent custom vehicle wraps system helps every vehicle build recognition instead of looking like a separate campaign.
Use branding that works at speed
Strong branded vehicle design uses high contrast, large type, and simple visuals. Bold colors and a clean logo are more effective than decorative backgrounds, thin script fonts, or stock photos that turn into visual noise.
For fleet wrap design, consistency matters even more than creativity. Matching colors, logo placement, and service headlines across all vehicles builds recall faster than giving each truck a different look.
Before approving a concept, do a simple test. Step back 30 to 50 feet, or shrink the proof on your screen to a small size. If the brand name, service, and contact method do not stand out right away, simplify the layout.
Start with the vehicle template and real-world measurements
The fastest way to ruin a wrap design is to start from the wrong vehicle file or skip real-world verification. Templates are useful, but they are not a substitute for actual measurements and photos of your exact vehicle.
Use the exact vehicle specs before design begins
Small differences matter. A van may look identical online but still have a different wheelbase, roof height, rear door layout, trim package, or window configuration. Before your designer starts, send:
- Year, make, model, and trim
- Body style, wheelbase, and roof height
- Whether it is cargo, passenger, or crew configuration
- Any aftermarket additions such as ladder racks, toolboxes, steps, cameras, or vents
- Whether you want full coverage, window coverage, or partial graphics
This matters especially on larger bodies like SUV full wraps and trailers, where small scale errors can lead to expensive reprints or awkward panel placement.
Measure the usable space, not just the overall vehicle
A shop can design faster and more accurately when you provide basic real-world dimensions. Helpful measurements include overall length and height, rear door width, and the size of any large flat panel areas you want to use for text or a logo.
Also send clear photos of all four sides, plus front and rear three-quarter angles. Include close-ups of:
- Door seams and sliding door tracks
- Handles, hinges, and fuel doors
- Sensors, cameras, wipers, and license plate areas
- Dents, rust, scratches, or old adhesive residue
- Bumpers, fender flares, and deep body curves
These details affect where important text can safely sit. A phone number split by a door seam or stretched across a fuel cap is a common and preventable mistake.
Account for installation realities before approving artwork
Good design on screen can still fail on the vehicle if it ignores curves, recesses, and visibility rules. Keep logos and contact info away from panel breaks, handles, and heavy contours. Leave safe space around the rear camera, brake lights, and plate area. If rear windows are involved, confirm what visibility is acceptable for your use and local requirements.
One good photo set up front can save days of back and forth and avoid surprises on install day. If your shop has accurate templates and honest field measurements, the final wrap will fit better, read better, and convert better.
Choose the wrap format that matches your budget and route
The best format depends on how many people will see the vehicle, how long it stays on the road, and how much of the body you want to cover. For many small businesses, the right choice is not the most dramatic one, but the one that fits the route, the brand, and the install budget without wasting coverage on panels that barely show.
If you are comparing full wrap, partial wrap, and decal-only options for custom vehicle wraps, think in terms of impact per dollar. A full wrap gives the strongest mobile billboard effect and the most visual consistency. A partial wrap can still look premium if the design uses the vehicle color on purpose. Decal-only graphics are the leanest option and work well when you mainly need a logo, website, and phone number that can be read quickly.
| Format | Coverage | Typical budget fit | Best for | Upkeep |
|---|---|---|---|---|
| Full wrap | Highest, covers most exterior panels | Higher initial spend | Fleet wrap design, high-visibility routes, strong brand consistency | More edge care and more surface area to inspect |
| Partial wrap | Moderate, combines printed vinyl with paint showing through | Mid-range | Service vans, branded vehicle design on a tighter budget | Moderate upkeep, easier panel replacement than full coverage |
| Decal-only | Low, usually logos, text, and simple graphics | Lowest initial spend | Startups, temporary promos, multiple vehicles with limited budget | Lowest maintenance and fastest refresh cycle |
| Spot graphics | Very low, focused on doors, rear glass, or quarter panels | Lowest of all | Local delivery routes, contact-first messaging | Simple to clean and replace |
Match coverage to your route and viewing distance
If your vehicles spend time in traffic, at job sites, or parked near customers, a full or partial wrap usually makes sense. Longer viewing time supports more design detail. If your vehicle is mostly seen from behind or in parking lots, a simpler format can perform just as well when the contact details are large and clean.
For larger units like trailers and SUVs, a full coverage layout can be especially effective, including options like trailer full wraps and SUV full wraps.
Think about turnaround, repairs, and future changes
Full wraps take more material and install time, which can affect turnaround. Partial wraps are often easier to update when a phone number, logo, or offer changes. Decal-only graphics are the easiest to replace if you test a new route, brand message, or seasonal promotion. For many small business owners, that flexibility matters as much as the upfront price.
Use the budget where it will actually be seen
Do not pay for coverage on panels your audience rarely notices. For example, if your vehicles are parked curbside, rear-door messaging may matter more than roof coverage. If you are working with utility vehicles or specialty rigs, a partial wrap can still look intentional and polished, including formats such as Jeep partial wraps. The goal is not maximum vinyl. It is maximum visibility for the money you spend.
Build a message drivers can read in three seconds
The strongest branded vehicle design leads with one simple idea, one obvious visual, and one easy contact method. At speed, drivers should understand who you are, what you do, and how to reach you without trying to read a paragraph on the side of a van.
Use a clear hierarchy, not a flyer layout
Start with the company name or main service, then support it with a short descriptor, then add the phone number or website. Keep the message short enough to scan in one glance. Clear readability depends on hierarchy, not on cramming every service into the design.
- Top line: business name or primary service
- Second line: what you do, such as HVAC, plumbing, landscaping, or delivery
- Third line: one contact method only if space allows
- Optional: service area or short offer
Pick fonts and contrast that hold up in motion
Use bold sans serif fonts with enough stroke weight to stay readable from a moving car. Avoid script styles, thin outlines, and narrow condensed type unless they are only part of a logo mark. High contrast matters more than decoration. Dark text on a light field, or light text on a dark field, is usually the safest choice for fleet wrap design.
Place your logo where it is visible at a glance, but do not let it swallow the message. On many vehicles, the door panel, rear quarter, and back doors do the heavy lifting. Large phone numbers, a short website, and a clean CTA like “Call for a quote” usually beat long promotional copy.
Keep the offer and CTA simple
If you use an offer, make it specific and easy to remember, such as “Free estimates” or “Same-day service.” Avoid discount language that changes every few weeks unless the wrap is meant to be temporary. Tiny text, stacked services, and crowded icons weaken the message fast. The CTA should be direct, such as “Call today,” “Book service,” or “Get a quote,” so drivers know exactly what to do next.
Vehicle wrap design tips that protect print quality and install
The fastest way to make a wrap look expensive is to design for print and install from the start. If you ignore production specs, even a strong concept can come back soft, muddy, misaligned, or difficult to lay cleanly over the vehicle.
Set up files the way the printer needs them
Build artwork at full size when possible, or at the scale the shop requests. For most large-format wraps, 100 to 150 dpi at final size is workable, and screenshots pulled from a website are not. Use CMYK, not RGB, and flag any must-match brand colors early because print conversion can shift color slightly.
Add enough bleed for trimming and paneling, usually 2 to 3 inches beyond the finished edges. Keep a safe zone of at least 1 to 2 inches from door edges, wheel arches, handles, sensors, and trim lines so logos and phone numbers do not get sliced or distorted.
Design for seams, recesses, and viewing distance
Good wrap art looks simple on screen and smarter on the vehicle. Put critical text on flatter areas. Avoid placing faces, small type, QR codes, or tight logos across door gaps, fuel doors, deep channels, and bumpers. On custom vehicle wraps, panel breaks should feel intentional, not like the installer had to cut through your headline to make the job fit.
Gradients are another common problem. Long, subtle fades can band, especially in dark colors. If you want a premium look, use cleaner color blocks, controlled shadows, or texture only where it will not print dirty from road grime.
Choose finishes that support the use case
Match cast wrap film with a cast laminate for better conformability and durability. Gloss pops, satin hides fingerprints and light scratches better, and matte can look premium but shows edge lift sooner if the prep or install is poor. Reflective accents are excellent for service vehicles, but they cost more and should be used carefully, not as a full-field fix for weak design.
For window perf, keep primary messaging off the rear side windows and confirm local visibility rules. Tiny text on perf often reads as mush from the street. Cheap-looking wraps usually have the same causes: low-resolution images, too many effects, text crossing seams, and no thought given to where the installer has to stretch, heat, and trim the film.
What to confirm before you approve proofs and print
Before you approve anything, confirm the schedule, the exact scope, and what the proof is actually showing. Most wrap headaches happen after a customer says “looks good” to a visual proof that did not answer production questions.
Ask about timing, revisions, and install windows
A practical timeline usually includes 1 to 3 design rounds, then print production after final approval, then lamination and curing, then installation. A single vehicle may move quickly, but larger jobs or busy local seasons can push install dates out. Ask for a realistic sequence, not just a print date:
- How many revision rounds are included?
- How many business days from final proof approval to print?
- How long does the laminate need before install?
- How many days will the vehicle be off the road?
- Is indoor install space guaranteed if weather turns bad?
Pricing is driven by more than square footage. Vehicle size, deep channels, rivets, removal of old graphics, window perf, reflective film, and whether you are doing trailer full wraps or smaller jobs like Jeep partial wraps all affect labor and material cost.
Review the proof like a production file, not just a mockup
Check every phone number, URL, service list, license number, and logo version. Confirm the proof matches the exact year, make, model, and roof height. Ask where panel breaks, overlaps, and seams will fall. Make sure driver and passenger sides are intentional and not simply mirrored if one side reads better than the other.
If your message touches windows, ask which elements will land on perf and what will remain readable from the curb. Request notes on bleed, safe zones, and any areas the shop expects to trim away.
Clarify durability, warranty, maintenance, and fleet consistency
Before signing off, ask these questions plainly:
- What film and laminate brands are being used, and what life expectancy is realistic in our climate?
- What does the warranty cover: material failure, fading, edge lift, installation workmanship, or all three?
- What voids the warranty, such as pressure washing edges, automatic brushes, or parking habits?
- How long should we wait before washing, and what cleaning method do you recommend?
- If we add vehicles later, how will you keep color, scale, and placement consistent across the fleet?
For fleet work, ask whether the shop saves approved production files, color targets, and install notes. That is how a branded vehicle design stays consistent instead of drifting from one van to the next.
Before you approve a proof, step back from it, shrink it to a phone screen, and make sure your company name, main service, and contact method are still obvious in seconds. If you want the wrap to bring in real leads instead of just looking busy, send your shop clear vehicle photos, exact model details, route notes, and your top one or two selling points, then ask for a proof built around readability first.
How much does a vehicle wrap cost for a small business?
Pricing depends on vehicle size, wrap coverage, material choice, and how complex the design is. A partial wrap usually costs less than a full wrap, while a full wrap creates more visual impact. The most accurate quote will be based on your exact vehicle, whether old graphics need removal, and whether the artwork is already print-ready.
What makes a vehicle wrap design convert better?
The best converting designs are easy to read, simple to understand, and focused on one action. Use a clear business name, one main service, a phone number or short website, and a direct call to action. High contrast, large type, and clean spacing help people understand the message while the vehicle is moving.
How long does it take to design and install a wrap?
Design usually takes a few days to a couple of weeks depending on revisions and approvals. Installation often takes one to three days for most vehicles, but larger wraps or more complex graphics can take longer. Plan for extra time if the vehicle needs prep work, old vinyl removal, or a weather backup for the install date.
Should I choose a full wrap or a partial wrap?
Choose a full wrap if you want maximum coverage, stronger brand consistency, and a more dramatic look. A partial wrap is a smart option if you want lower cost, faster turnaround, or a design that uses the vehicle color as part of the layout. The best choice depends on budget, route visibility, and how bold you want the marketing to be.
What files do I need when learning how to design a vehicle wrap?
Vector files are best for logos and text, usually AI, EPS, or PDF formats. High-resolution images should be large enough for print, and the artwork should match the exact vehicle template from the installer. Keep important details away from seams, handles, and deep curves so the final wrap stays readable and clean.
Get a Free Quote Today
Contact us at +1-(416) 288-8661 or Email us at info@Brandingcentres.com and let's get started.