Choose your Canada Post mailing service before you size or design a postcard. A Toronto retailer reaching nearby households needs a different layout from a business mailing offers to an existing customer list. This guide to postcard mailing through Canada Post covers how to choose the service, leave room for postal markings and send a file your printer can use.
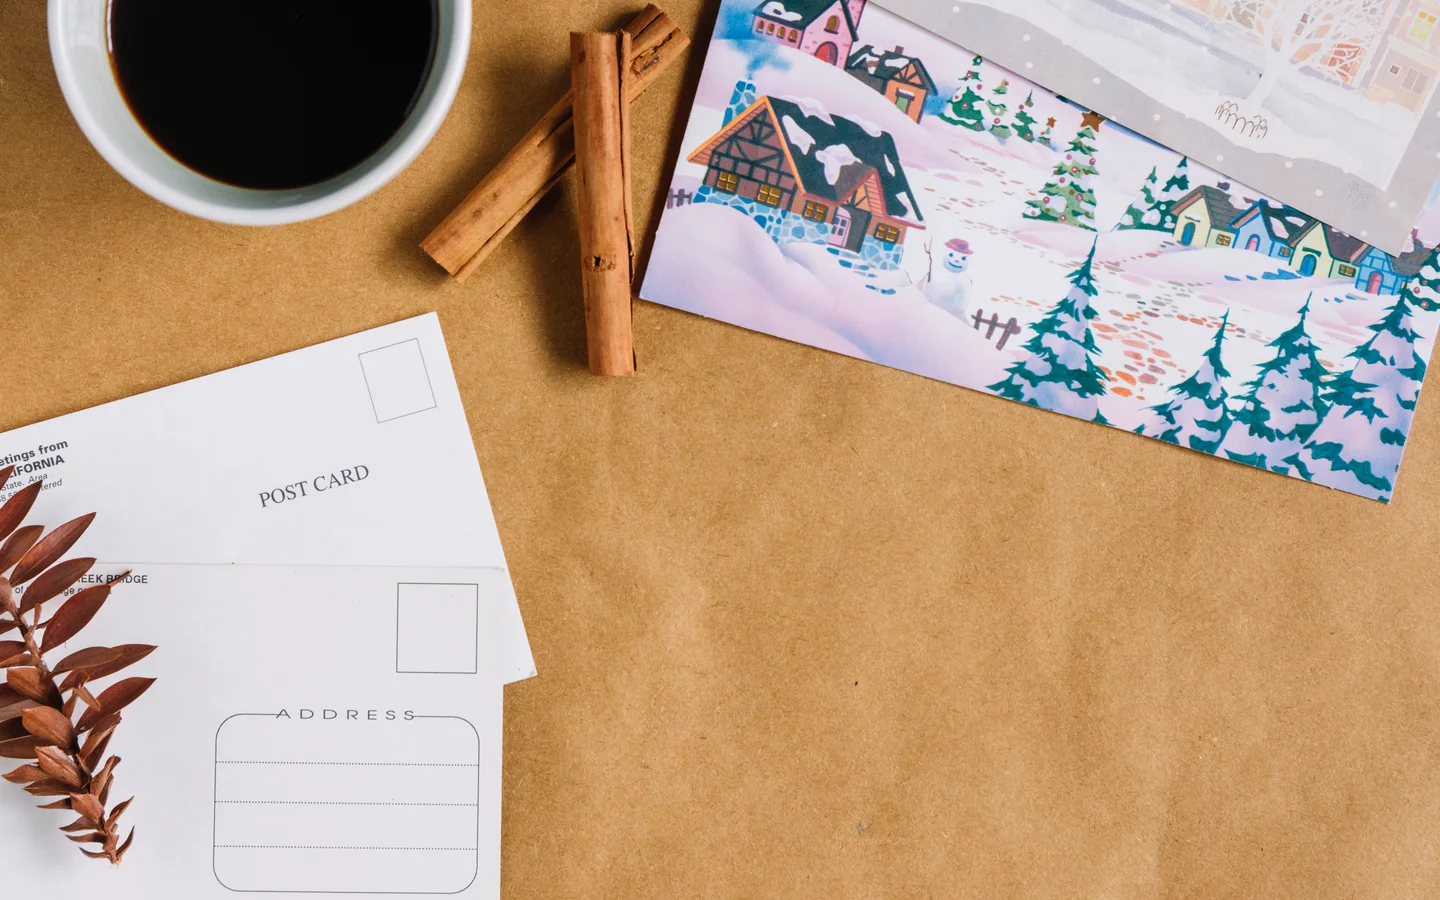
Featured postcard photograph. Designed by Magnific
Choose a Canada Post service for your postcard mailing
Choose Neighbourhood Mail to reach a defined area, Personalized Mail for an addressed promotional campaign, or Lettermail for individually stamped cards within Canada. Decide who needs to receive the card before you order it.
| Mailing method | Addressing | Good fit | Before ordering |
|---|---|---|---|
| Neighbourhood Mail | Unaddressed | A new shop, a local restaurant offer or a contractor working in a defined area | Choose delivery routes and recipient categories. Confirm counts, preparation and deposit instructions. Show the advertiser or mailer's name on the card. |
| Personalized Mail | One complete delivery address per card | An offer to past customers or a campaign using an address list | Verify that the content qualifies as promotional. Check the minimum volume, address layout and approved proof of postage. |
| Domestic Lettermail | Individually addressed | A small batch of thank-you cards, invitations or follow-ups | Check the finished piece against domestic size and weight limits. Reserve space for the stamp and address. |
For an ordinary Neighbourhood Mail postcard, leave off the destination address and postal indicia. If you show your shop location, set it on one line so it cannot be mistaken for a delivery address. For Personalized Mail, coordinate who will apply the addresses and approved indicia or meter impression before signing off the artwork.
Check the finished size, stock and coating
Measure the card after trimming and check the finished piece against your chosen service. Direct mail postcard requirements depend on the postal product and the finished piece. Use Canada Post's millimetre limits where the inch equivalents are rounded.
| Print specification | What to verify before mailing |
|---|---|
| 4 × 6 in (101.6 × 152.4 mm) or 5 × 7 in (127 × 177.8 mm) | Both fit the length and width ranges for domestic Standard Lettermail and machineable Standard Personalized Mail. The final card must also meet applicable thickness, weight and design rules. |
| 6 × 9 in (152.4 × 228.6 mm) | Fits those same length and width ranges. Confirm the stock, weight and address layout. |
| 6 × 11 in (152.4 × 279.4 mm) | Exceeds the 245 mm standard length for those addressed services. It fits the listed Standard Neighbourhood Mail footprint for letter-carrier routes. Check all other criteria and the price category. |
| 14 pt or 16 pt cardstock | Points describe thickness. Grams per square metre (gsm) describe paper weight per area. Ask for both figures and check a finished sample for weight, thickness and flexibility. |
| Matte, uncoated or gloss | For pen or inkjet addressing, test the actual surface. Keep the mailing side writable when the addressing process requires it. Consider gloss on the message side and a compatible finish on the address side. |
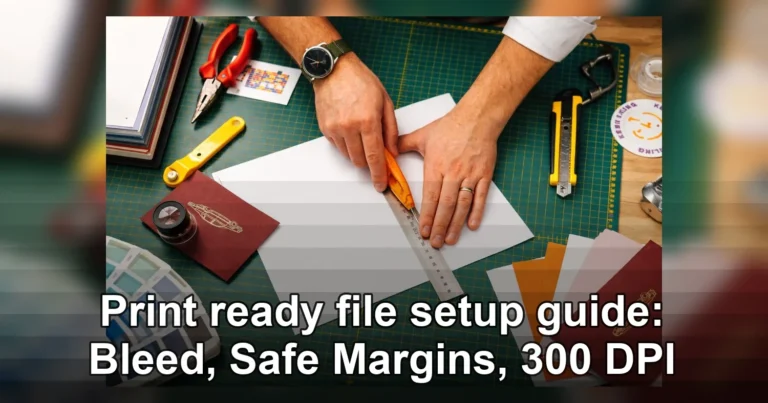
| Print-ready artwork | Use final trim size, the printer's bleed and safety margins, CMYK colour and 300 ppi images at final size. Keep mailing areas separate from the print margins. |
For machineable Standard Personalized Mail, Canada Post lists a 140–245 mm length, 90–156 mm width, 0.18–5 mm thickness, 2–50 g piece weight and a 1.3:1–2.6:1 aspect ratio. Rectangular paper cards need a minimum paper weight of 160 gsm and must be flexible. For Standard Neighbourhood Mail on letter-carrier routes, the guide lists a minimum area of 70 cm² and thickness of 0.18 mm, with a maximum footprint of 305 × 152.4 mm. Use the service guide to confirm the other limits. For more about choosing a format, see our Canadian postcard size guide.
Design the mailing panel before you export
Reserve the postal areas before placing the offer, photography or QR code. If the card is addressed, put the offer on one face and put the address and postage together on the other. A single printed side can work for an unaddressed card if the offer, business name and response details all fit.
Addressed postcard layout
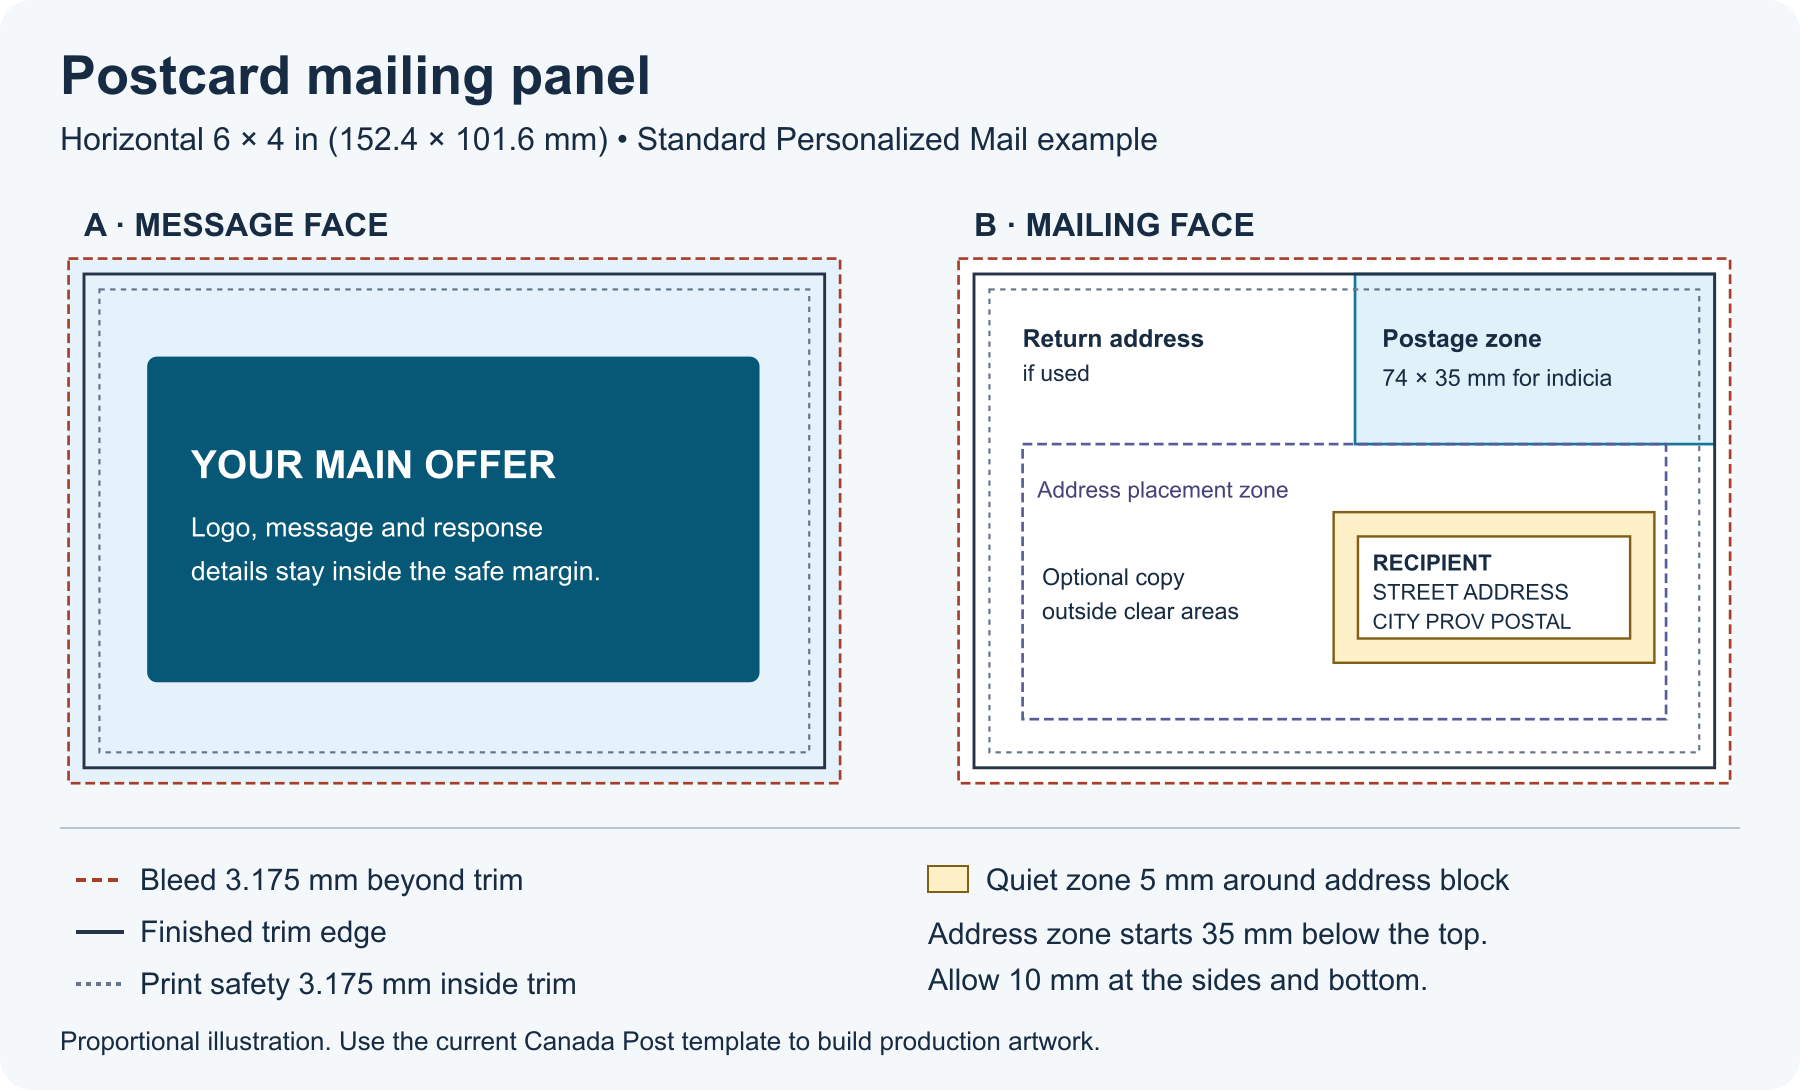
For a horizontal machineable Standard Personalized Mail card, reserve the upper-right 74 × 35 mm for an indicia, or 100 × 35 mm for meter postage. The delivery address goes below the top 35 mm and at least 10 mm in from the left, right and bottom edges. Leave at least 5 mm free of text, graphics and dark colours around the address block. Use a clear, light background. If you use a return address on the mailing face, keep it in the same orientation and leave at least 15 mm vertically between the two address blocks. Canada Post's card and postcard guide shows the postal areas.
Prepare the print file
Export a two-page PDF in front-then-back order for a two-sided card. Extend backgrounds 0.125 in (3.175 mm) past trim and keep critical copy at least 0.125 in inside it. A 6 × 4 in finished card with bleed on every edge needs a 6.25 × 4.25 in artwork boundary. The print safety margin and the postal quiet zone serve different purposes and both need room.
Use CMYK and embed fonts. Check that photos are 300 ppi at final size, verify the orientation on a full-size proof and test any QR code on a phone. Our print artwork guide covers file setup. Common rework includes putting artwork in the address quiet zone, printing an unofficial postage mark, flipping the back or using a dark coating that makes address ink hard to read.
Budget and schedule the print run and mailing
Quote printing and mailing separately. For printing, compare the quantity, finished size, stock, coating, sides and rush timing. Ask for the total in CAD with HST shown separately. A lower print cost per card may leave you paying for extra pieces you have no plan to distribute.
For mailing, ask for the current postage category and any separate costs for data preparation, addressing, bundling, transportation and deposit. Work back from your desired delivery window. Allow time to confirm routes or clean the list, approve the proof, print the cards and prepare the shipment. Ask for a print-ready date and a separate postal delivery estimate. Rush printing shortens the print stage, while postal timing depends on the selected service and deposit.
Example. 1,000 postcards for a GTA campaign
An Etobicoke garden centre wants to promote a spring opening to nearby households. It plans 1,000 unaddressed 4 × 6 in cards on flexible 14 pt cardstock with a matte finish and colour on both sides. The front shows the offer. The back gives the opening date, the shop name and a QR code to a campaign page. The print file is a two-page CMYK PDF with bleed.
The shop checks Neighbourhood Mail route counts before ordering. If its selected routes total 970 eligible deliveries, it can print 1,000 and retain 30 for its counter. If the routes require more than 1,000, it adjusts the route plan or the print quantity before proof approval. It confirms preparation and deposit arrangements separately from the printing quote.
Before you place the order
- Confirm the postal service, route count or address list, and who will prepare the mailing.
- Check the finished size, stock, weight, thickness and coating against the service guide.
- Approve both sides at actual size and confirm all postage and address areas.
- Test the QR code and verify the offer date, print quantity, pickup date and postal deposit plan.
Frequently asked questions
Can I mail a 4 × 6 in postcard in Canada?
Yes, its trim dimensions fit domestic Standard Lettermail and machineable Standard Personalized Mail. Check the finished weight, thickness, flexibility and addressing rules for the service. A 4 × 6 in card also exceeds the minimum area listed for Standard Neighbourhood Mail on letter-carrier routes.
Can I mail postcards without individual addresses?
Yes. Neighbourhood Mail distributes unaddressed pieces by selected routes and recipient categories. Plan the print quantity from the route counts, leave off individual destination addresses and make the advertiser or mailer's name visible. Confirm preparation and deposit details before the print run.
Do I need a postal indicia on a postcard?
It depends on the service and payment method. Use the approved Canada Post artwork for Personalized Mail where an indicia is required, or follow its meter rules if applicable. A stamped domestic Lettermail card uses a stamp. Ordinary Neighbourhood Mail postcards carry no postal indicia.
Can I use glossy cardstock for an addressed postcard?
Test the specific coating with the addressing method before ordering. A glossy face can suit photography, while some pens and inkjet systems need a compatible surface to avoid smearing. Approve a sample with the actual ink or label and confirm the final piece meets the postal rules.
Can I print both sides of a direct mail postcard?
Yes. Use one face for the main offer and reserve space on the mailing face for the address and postage if your service requires them. For unaddressed Neighbourhood Mail, the second side can carry more offer details or a response QR code.
Does the postcard printing quote include postage?
Request a separate estimate for postage and mailing preparation. Branding Centres prints the cards. Arrange list handling, addressing, bundling and Canada Post deposit separately, as required. Share your planned mail quantity, service and deposit date when requesting the mailing estimate.
Ready to Print Your Direct Mail Postcards?
Branding Centres prints postcards for Toronto and GTA businesses. Custom quotes have no stated minimum. Tell us the exact quantity you need. Same-day or next-day service is available on qualifying orders, subject to file readiness and capacity.
Pick up at 24 Ronson Drive, Unit 1, Etobicoke, ON M9W 1B4, or ask about Uber delivery. Upload your artwork for an exact quote or call +1 (416) 288-8661.